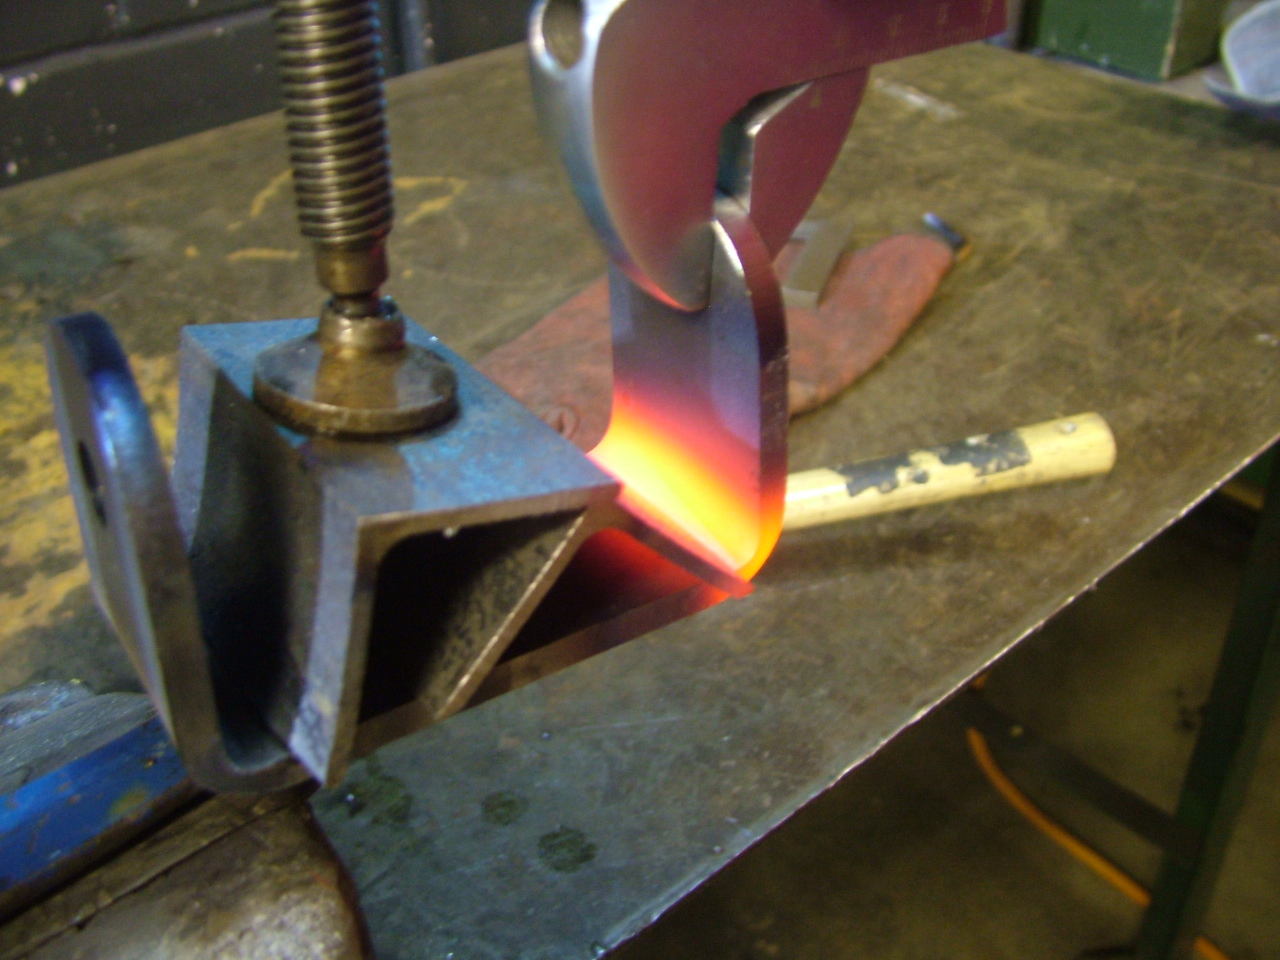
I admit, it would have probably been easier to cut the steel plate for the U-joint to size and weld it together. But then I wouldn't have had the chance to flail around with an oxy-acetylene torch that sounded like a jet taking off, and a spanner the size of my arm. :D Once the brackets had been bent to shape, I machined 4 brass spacers on the large (and slightly menacing) eastern bloc lathe. Once I'd finished battling it's intrinsic design flaws, I considered delicately assembling the U-joint. I then remembered that I had a physics paper to do for tomorrow, so I hit the pins repeatedly with a hammer until they went in. Job done.
It's been a little while since the last update, so here's what's been happening. I started building the U-joint - this will take almost all of the weight of the cockpit so it's quite important I get it right! I've also been fighting my way through a maelstrom of paperwork trying to work out how I'm going to attach the U-joint to the cockpit frame, and to the base itself. I am yet to have a revelation!
After a lesson of solid drawing and planning I had a pretty good manufacture session last night. I've bolted some steel plates through slots in the floor that I cut last time. These plates then have 3mm box section welded on to form a frame. This will form the mounting point for the universal joint - when I finally get round to making it! Aside from some slightly dodgy welding in places (it's been a while) and a burnt hand (I tried to turn it over by picking up the end I'd just welded...) I think it went well!
Great news! I now have a solid direction to go in so I can ramp up the pace, finish the development stage and get manufacturing. I've decided to make a large universal joint out of steel plate, which will allow the simulator to move through 2DOF - see the video! (Unfortunately the auto-focus wasn't up to the challenge...) Now I just need to decide how to mount the fuselage and universal joint onto the main frame. In the current model I've gone for a pyramid idea, but that may change.
Finally - in glorious technicolour! (With added annotations!)
Building has commenced! Or at least some more localised destruction... I've cut some slots in the fuselage to mount some metal plates on, which will form the support points for the frame. And I now have a passionate hatred of jigsaws. Bloody noisy stupid things... but good at cutting sheet aluminium!
After lengthy discussion, I've decided to go for a 2 cylinder design. Although having 3 cylinders would simplify the frame considerably, there would be major problems surrounding the complexity of the hydraulic control system. Therefore, the new design is currently looking something like this! All I need to do is find a big enough ball and socket bearing for the job, and then we're away!